

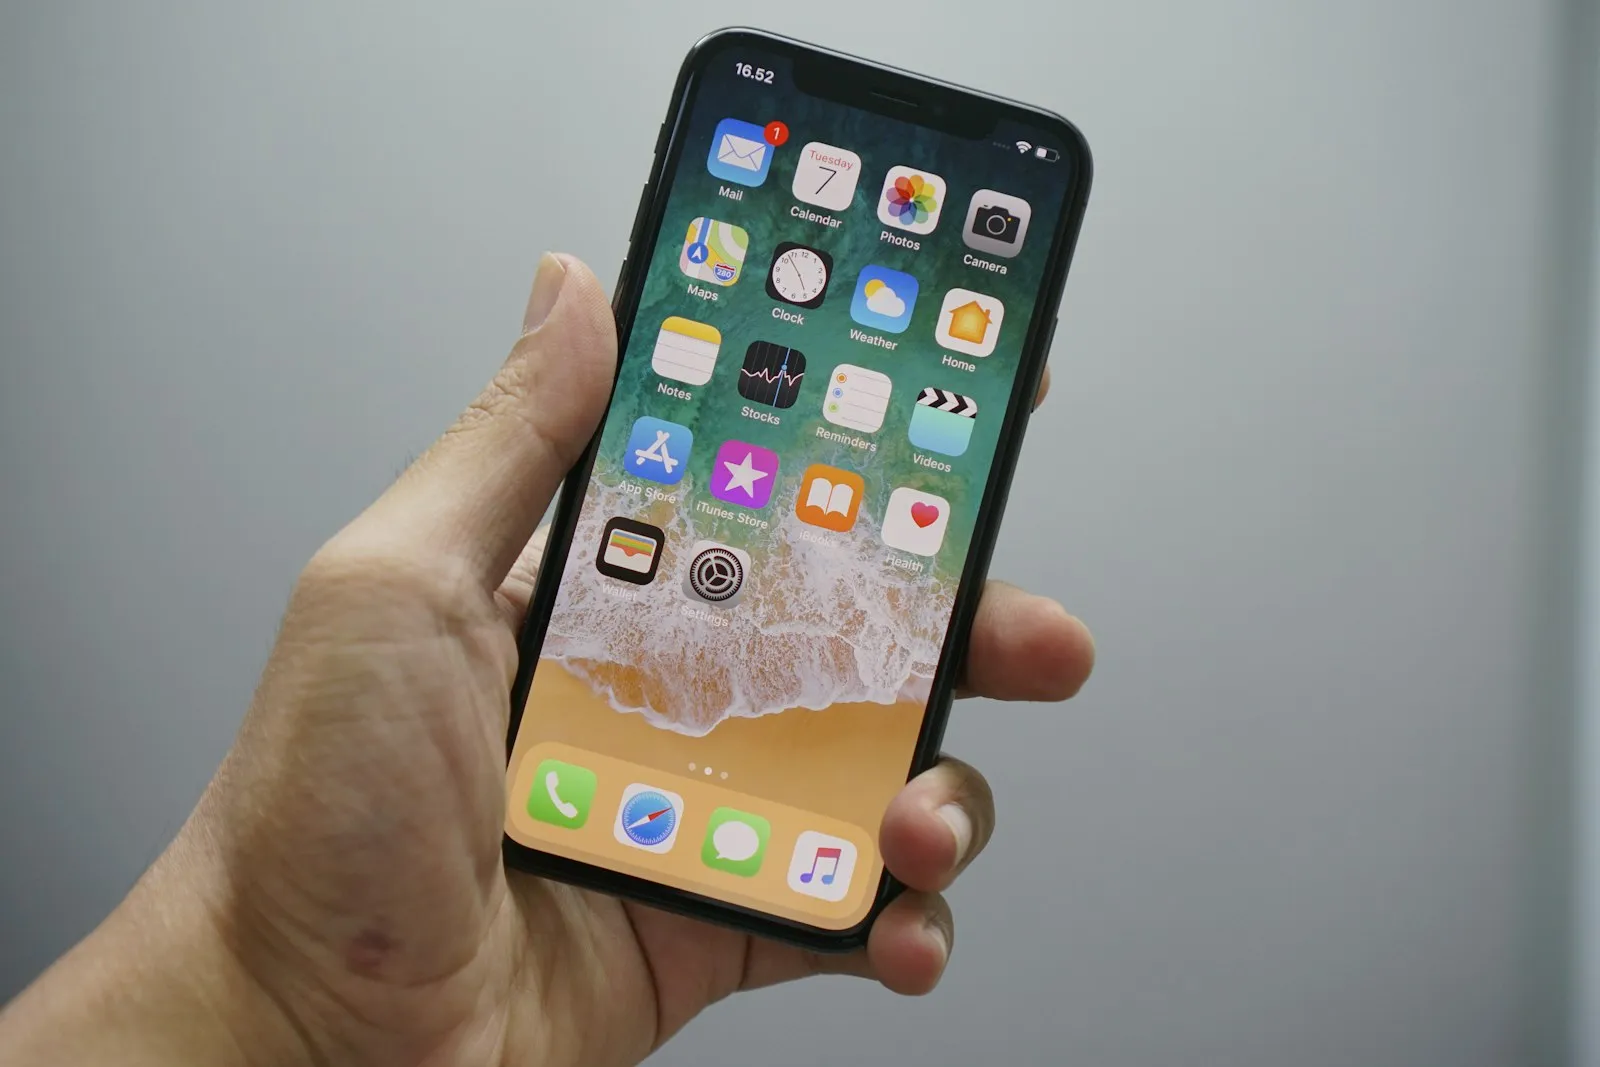
The short answer
Any iPhone from the XS or XR onwards installs a Bali eSIM in about two minutes: open Settings > Cellular (labelled Mobile Service or Mobile Data on some regions and iOS versions), tap Add eSIM, then Use QR Code, and scan the code from your confirmation email. Do it on home Wi-Fi a day or two before you fly, label the new line so you can find it later, and then leave it alone. Installing changes nothing yet: your 30 days only start once the eSIM first connects to Telkomsel after you land in Indonesia.
Which iPhones support eSIM
Every iPhone from the XS, XS Max and XR onwards supports eSIM, with two honest exceptions. The first is mainland China: as of July 2026, only the iPhone Air and iPhone 17e sold there support eSIM, so an older Chinese-market iPhone shows no Add eSIM option at all. The second is carrier locks: a phone still locked to your home provider cannot use another carrier's eSIM until that provider unlocks it. If you are unsure about either, check Apple's Dual SIM and eSIM page before you buy a plan.
The QR email and the install path
Your QR code arrives by email right after purchase, and the install path is Settings > Cellular > Add eSIM > Use QR Code. One catch trips people up: the phone cannot scan a code shown on its own screen. Open the email on a laptop or a second phone, or print it. On iOS 17.4 and later there is a neat shortcut: press and hold the QR image inside the Mail app and tap Add eSIM, no second screen needed. iOS then downloads the profile and sets the APN automatically, so there is nothing to configure by hand. Apple's full walkthrough lives on its eSIM setup page.
Label the line and set the Bali toggles
Name the new line Travel when iOS asks, then set two toggles: data roaming on for the travel eSIM, and mobile data off for your home SIM. Data roaming sounds like a bill risk, but for a travel eSIM it is simply how the line reaches Telkomsel, and it cannot touch your home plan. Keep your home SIM switched on for calls and texts, since the Goodbars plan is data-only and your usual number keeps working beside it. With your home SIM's data off, an accidental roaming charge is impossible. Once you land, set the Travel line as your mobile data line.
Two iOS quirks worth knowing
You need Wi-Fi during the install, and a deleted eSIM cannot be reinstalled from the same QR code. Downloading the profile requires an internet connection, which is exactly why installing at home beats improvising at the gate. And each QR code works once: if you delete the eSIM from the phone, perhaps while clearing out old travel lines, scanning the same code again fails. Email support@goodbars.co for a replacement if that happens, but the better move is to leave the installed line alone until you fly.
Verify before you fly
Sixty seconds of checking at home saves an hour at the airport. The day before departure, confirm:
- The Travel line appears in Settings > Cellular with its own entry.
- Data roaming is on for the Travel line, and off for your home SIM.
- Your home SIM's mobile data is off, or you know exactly where that switch is.
- The QR email is saved offline, in case you need the order details later.
The installed line sits idle until it reaches an Indonesian tower, so nothing on this list starts your 30 days early. If anything looks wrong, fix it while you still have Wi-Fi and time.